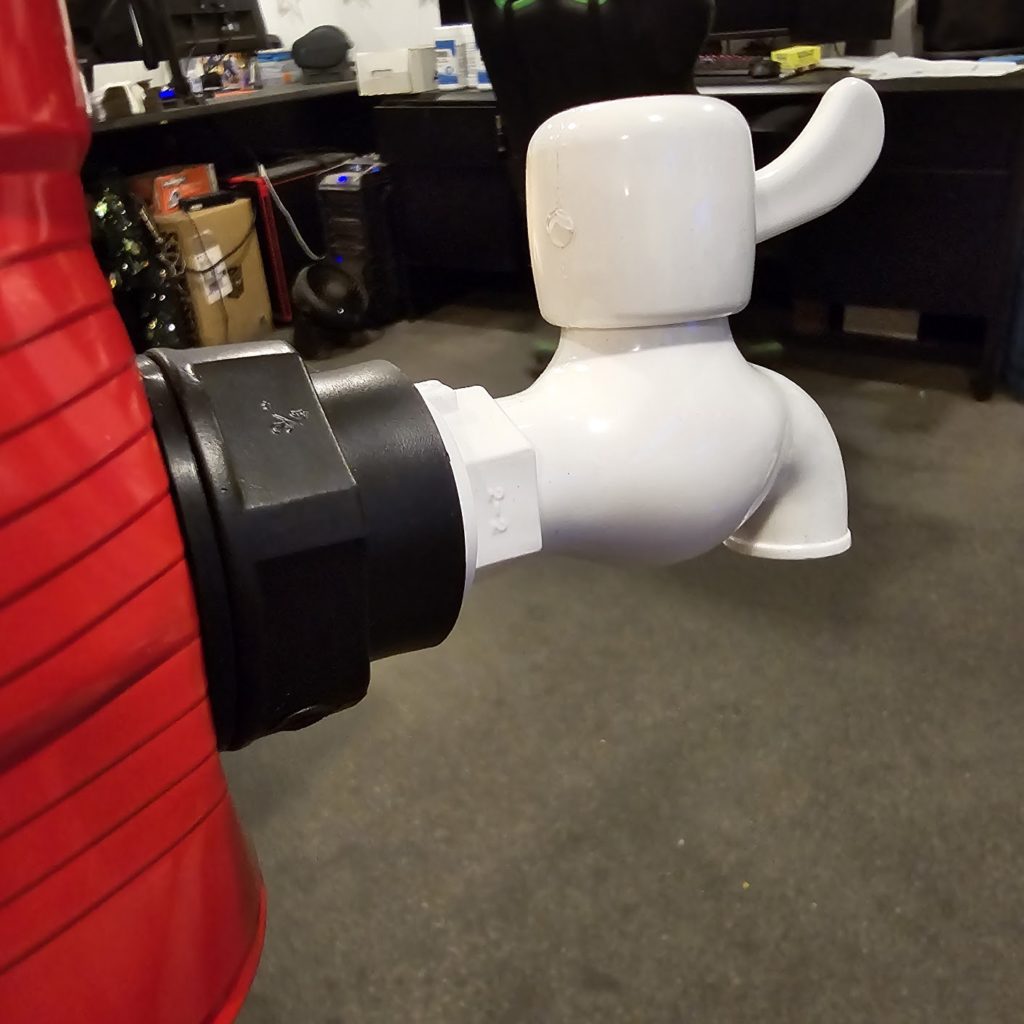
Installing an ABS (Acrylonitrile Butadiene Styrene) tank connector is relatively straightforward. ABS is commonly used for waste, drain, and vent pipes due to its durability and ease of installation. Here's a step-by-step guide on how to install an ABS tank connector:
Tools and Materials Needed:
- ABS tank connector
- Hole saw or drill
- Measuring tape
- PVC/ABS pipe cement or thread sealant (depending on the connector type)
- Adjustable wrench (if the connector has threaded parts)
- Gasket or rubber washer (may come with the connector)
Step-by-Step Instructions:
1. Choose the Location:
- Identify the exact spot on the tank where you want to install the connector. It’s usually installed at the bottom or side of the tank for proper drainage.
2. Measure and Mark:
- Use a measuring tape to ensure the hole is placed in the right position. Mark the center of where the hole will be cut.
3. Drill the Hole:
- Use a hole saw that matches the diameter of your ABS tank connector. Slowly drill through the tank wall. Make sure the hole is clean and smooth with no sharp edges.
Tip: Use a hole saw that is slightly larger than the connector’s body, but small enough to create a snug fit.
4. Prepare the Tank Connector:
- If your ABS tank connector has a rubber gasket or washer, ensure it is positioned correctly on the flange or on the inside part of the connector. This creates a watertight seal.
For Threaded Connectors:
- Apply thread sealant (such as PTFE tape) to the threads of the connector to prevent leaks.
5. Insert the Connector:
- Insert the connector through the hole. If it’s a threaded tank connector, screw the inner and outer parts together, sandwiching the tank wall between them. Make sure the rubber washer or gasket is between the connector and the tank wall to prevent leaks.
6. Tighten the Connector:
- Use an adjustable wrench to carefully tighten the nut (if threaded) or secure the connector in place. Ensure it is snug, but avoid over-tightening as this could damage the gasket or crack the tank.
7. Test for Leaks:
- Once the connector is installed and tightened, fill the tank with a small amount of water to test for leaks around the connector. If you notice any leakage, tighten the fitting slightly or add additional sealant.
8. Attach Pipe or Hose:
- Connect the desired pipe or hose to the outside end of the tank connector. Use ABS pipe cement for ABS pipes or a hose clamp for hoses, ensuring a secure fit.
Tips:
- Double-check sizes: Make sure the connector matches the size of the hole and the attached pipe or hose.
- Use proper cement: If attaching ABS pipes, always use ABS cement to ensure a solid, leak-proof bond.
- Avoid over-tightening: Too much force on the connector can crack the tank, especially if it’s plastic.
With these steps, you should have a properly installed ABS tank connector ready for use.
Here's a video you can check out from vonponics


